How to Add Plugins to ChatGPT

Key Takeaways
✅ ChatGPT plugins enhance the functionality and capabilities of ChatGPT and include new options for the AI chatbot.
✅ As of March 2023, they are exclusively accessible to developers and a limited number of ChatGPT users.
Since the day ChatGPT was launched, users have been asking for plugins to unlock a vast range of possible use cases. Their functionality on ChatGPT is to provide the generative AI chatbot with a direct link to specific services, and now that they are here, we are excited to try them out.
ChatGPT plugins are only available for early access for developers and a few plus-subscription users.
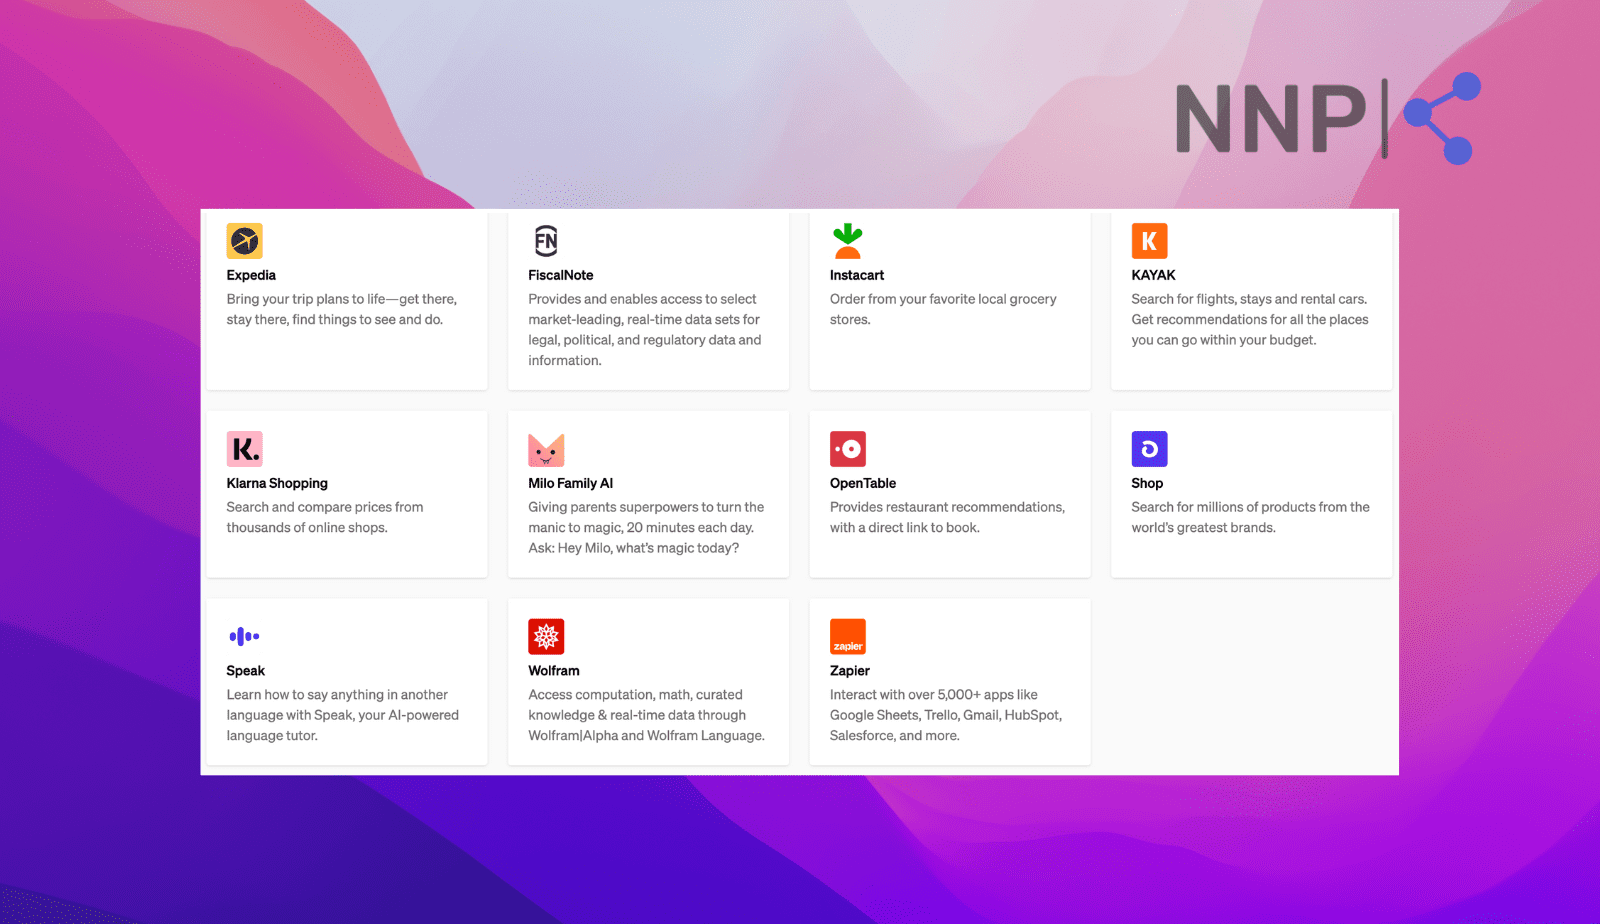
The first plugins for ChatGPT have been created by Expedia, FiscalNote, Instacart, KAYAK, Klarna Shopping, Milo Family AI, OpenTable, Shop, Speak, Wolfram, and Zapier.
If you haven’t added a plugin extension to your ChatGPT account, it's time you try some cause they can be awesome.
This article explains how you can add plugins to ChatGPT, plus some other additional information to your benefit when it comes to that.
Keep scrolling if you are interested in learning how to add and use ChatGPT plugins.
Bonus read: How to export ChatGPT conversation?
What are ChatGPT plugins?
ChatGPT plugins refer to external add-ons intended to enhance the capabilities of ChatGPT. In other words, Open AI defines plugins as utilities specifically for language modes, with safety as a fundamental aspect, enabling ChatGPT to access current information, perform computations, or utilize services offered by third-party providers.
Good to know: ChatGPT plugins are still a beta feature and need to be fixed as fast as they should, meaning you should not trust them fully yet.
How to add plugins to ChatGPT
Important Note: ChatGPT plugins are available for ChatGPT plus subscriptions, and you cannot install them without a premium subscription.
- Navigate to ChatGPT as usual and sign into your account.
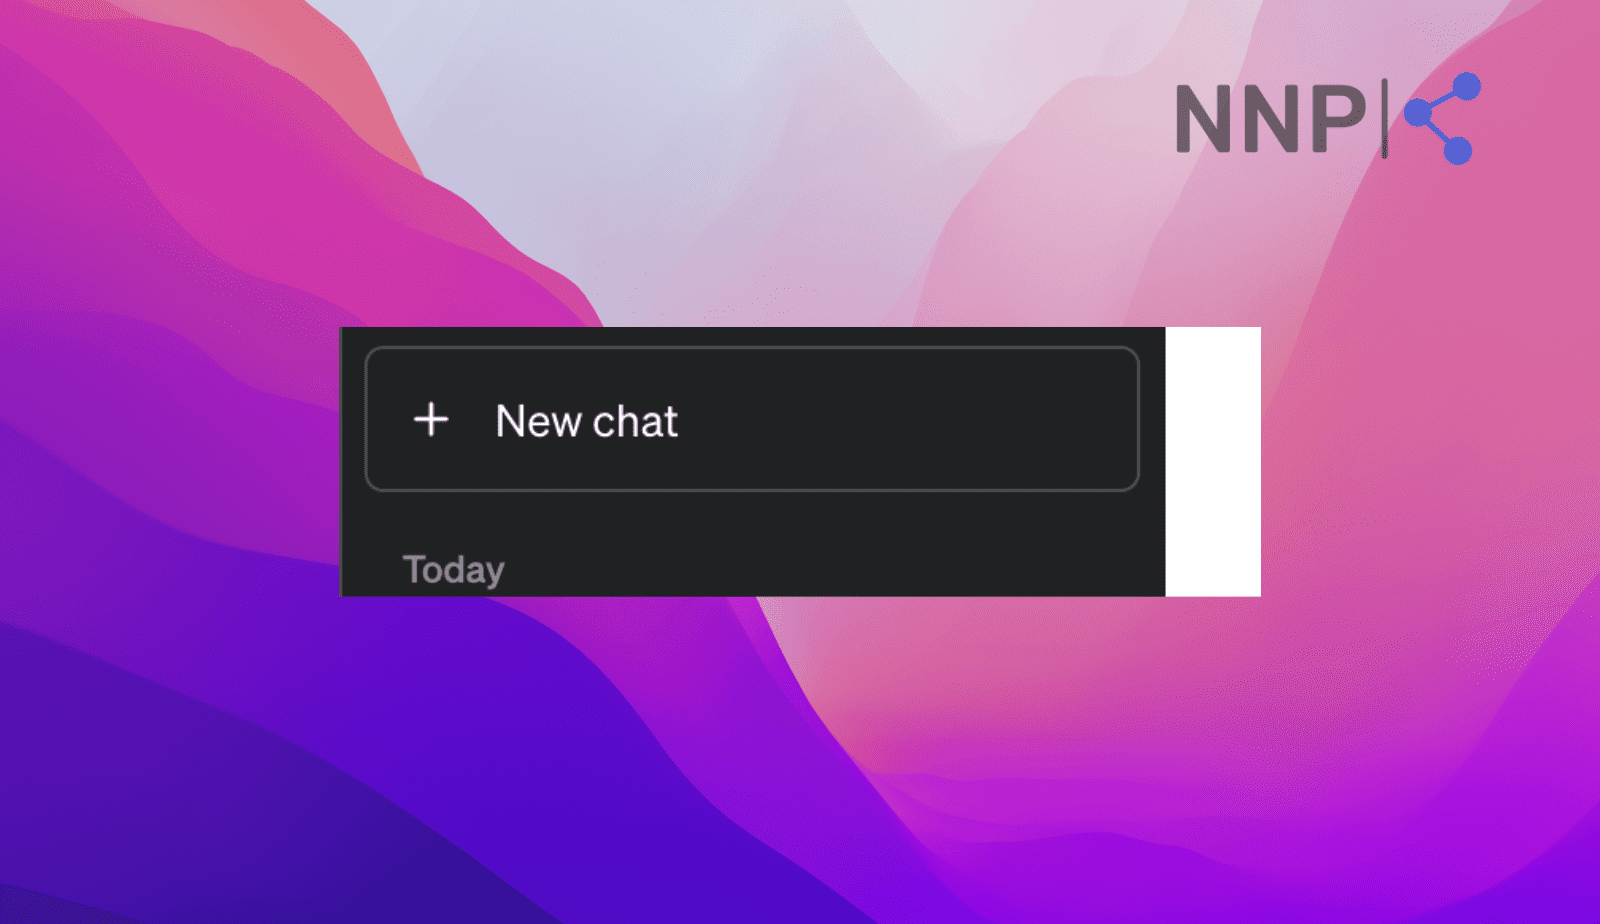
- On the left side panel, click on ‘New Chat.’
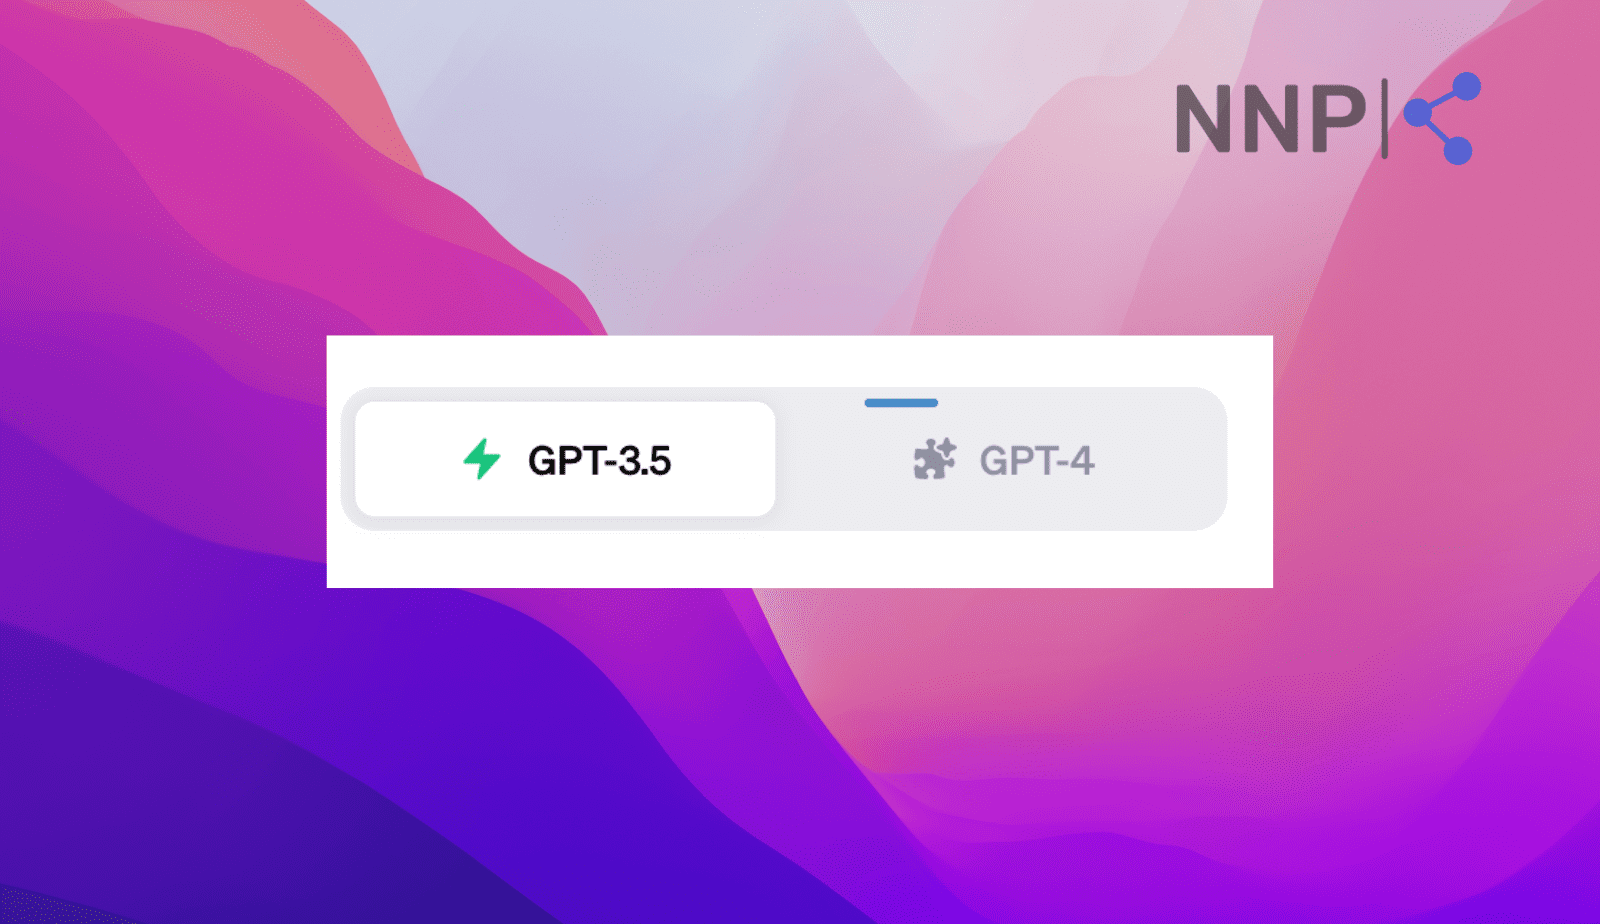
- At the middle top, you’ll see the ChatGPT models; click on ‘GPT-4’.
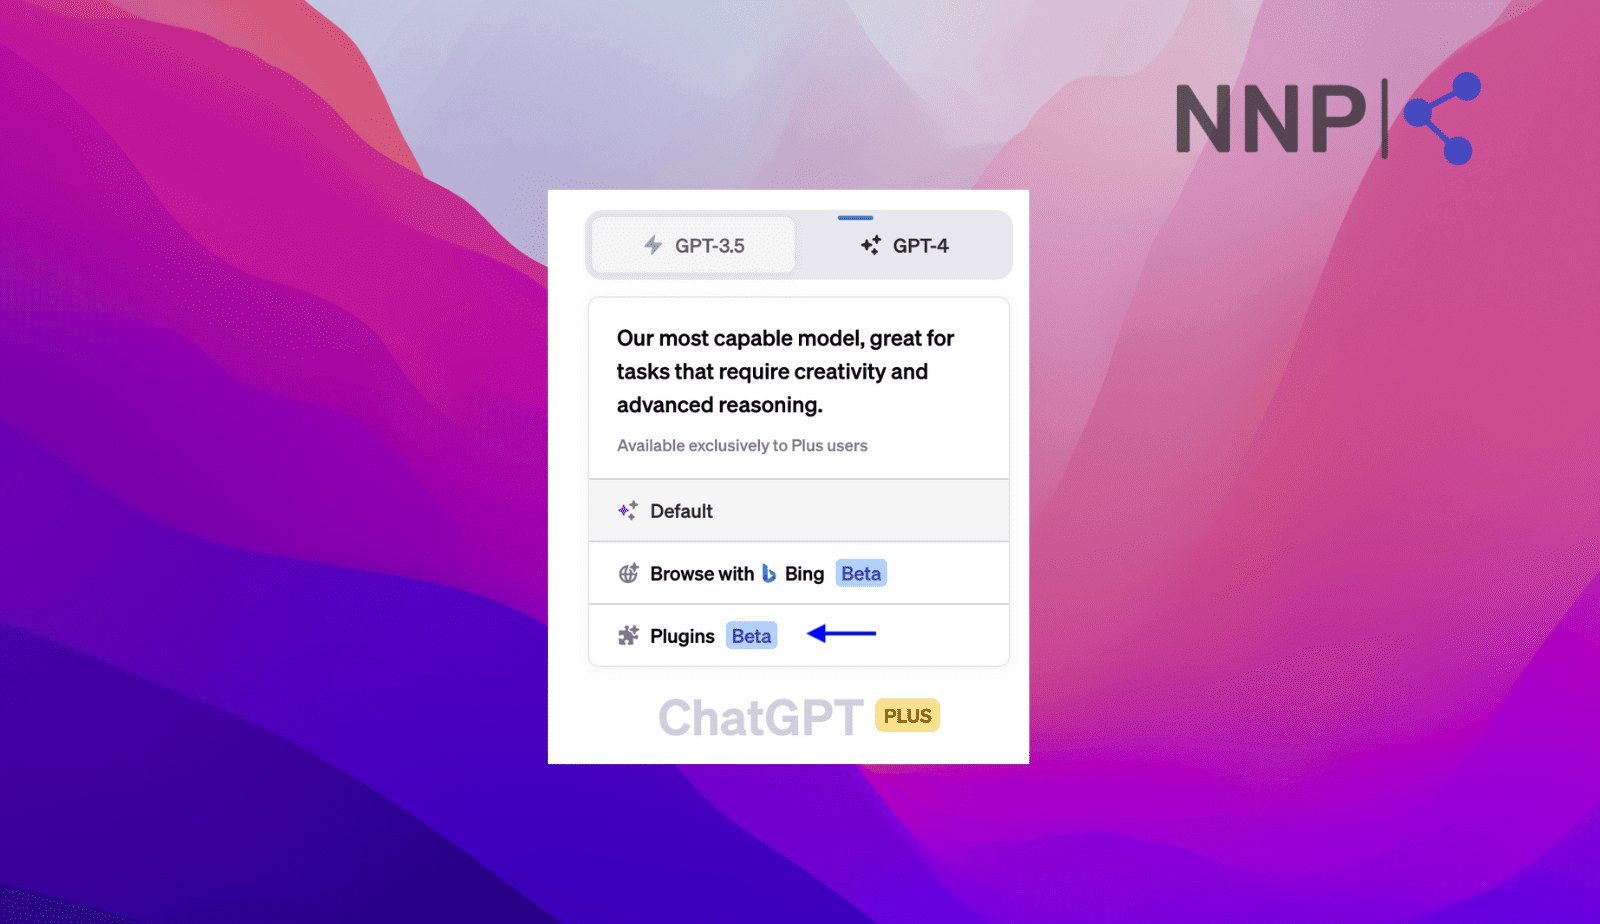
- From the options, click on ‘Plugins.’
- If you have already added a plugin, it should be visible to select it from the menu that opens.
- If you haven’t added any plugins, click on the downward arrow next to ‘No plugins enabled.’
![]()
- Several plugins will be available, but you can also scroll and click on the arrow next to ‘Plugin Store’ (a list of available plugins will appear).
![]()
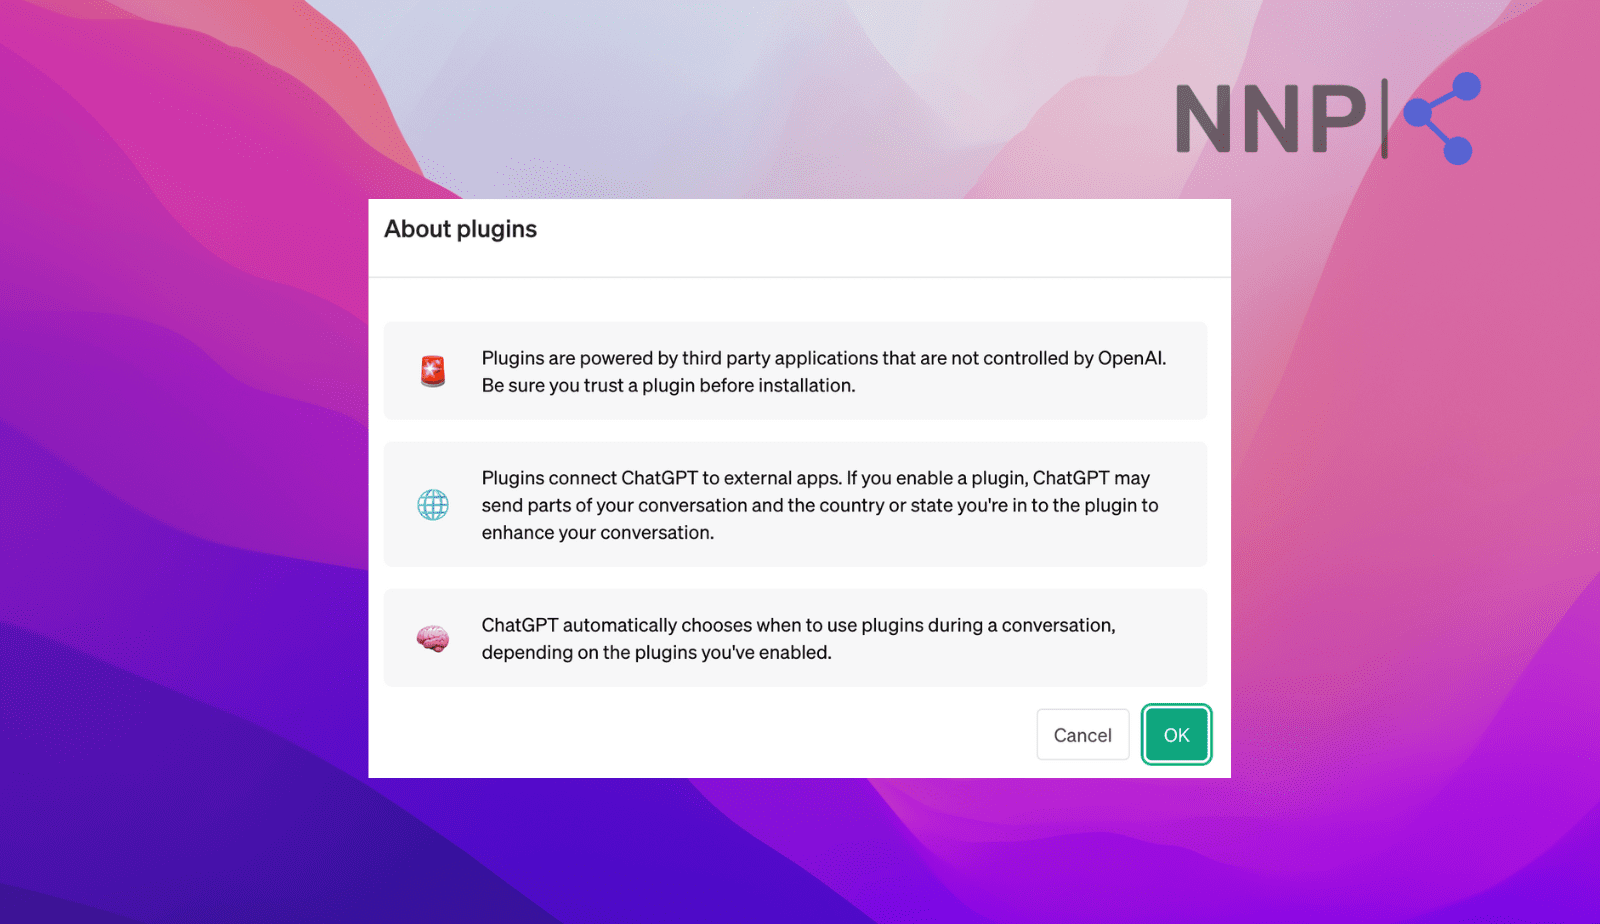
- You will be informed about ChatGPT plugins; click ‘OK.’
- Once you find the plugin you want to use, click ‘Install’ (you can also install several ChatGPT plugins simultaneously).
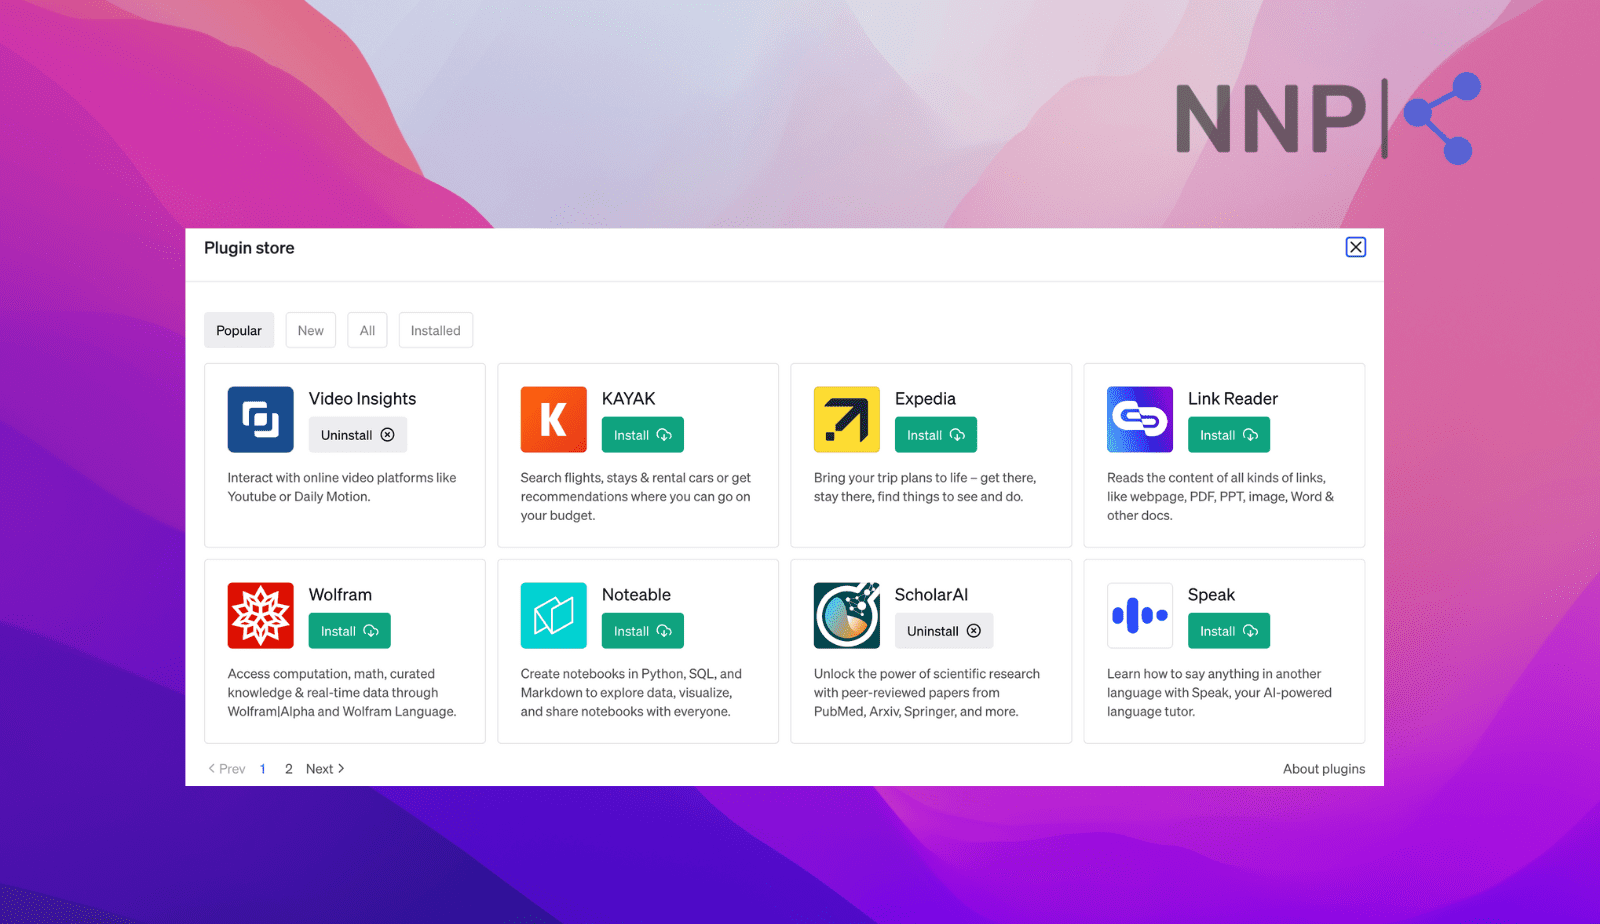
And that is it; once you click on the green rectangular 'Install', it will be automatically added to your ChatGPT account. You can uninstall them any time you want.
Also, check: How to delete your ChatGPT account?
How to use ChatGPT plugins
The way you use plugins on ChatGPT depends on the plugin you install. Overall, you can use it the same way as ChatGPT and give it a prompt (question), and ChatGPT will provide you with an answer.
For example, I tested the Tasty plugin to find a quick and tasty recipe for creating a dessert.
Here is the prompt I used and how it responded:
“Give me the best recipe for a quick and easy dessert with only three cheap ingredients, something healthy yet sweet and tasty.”
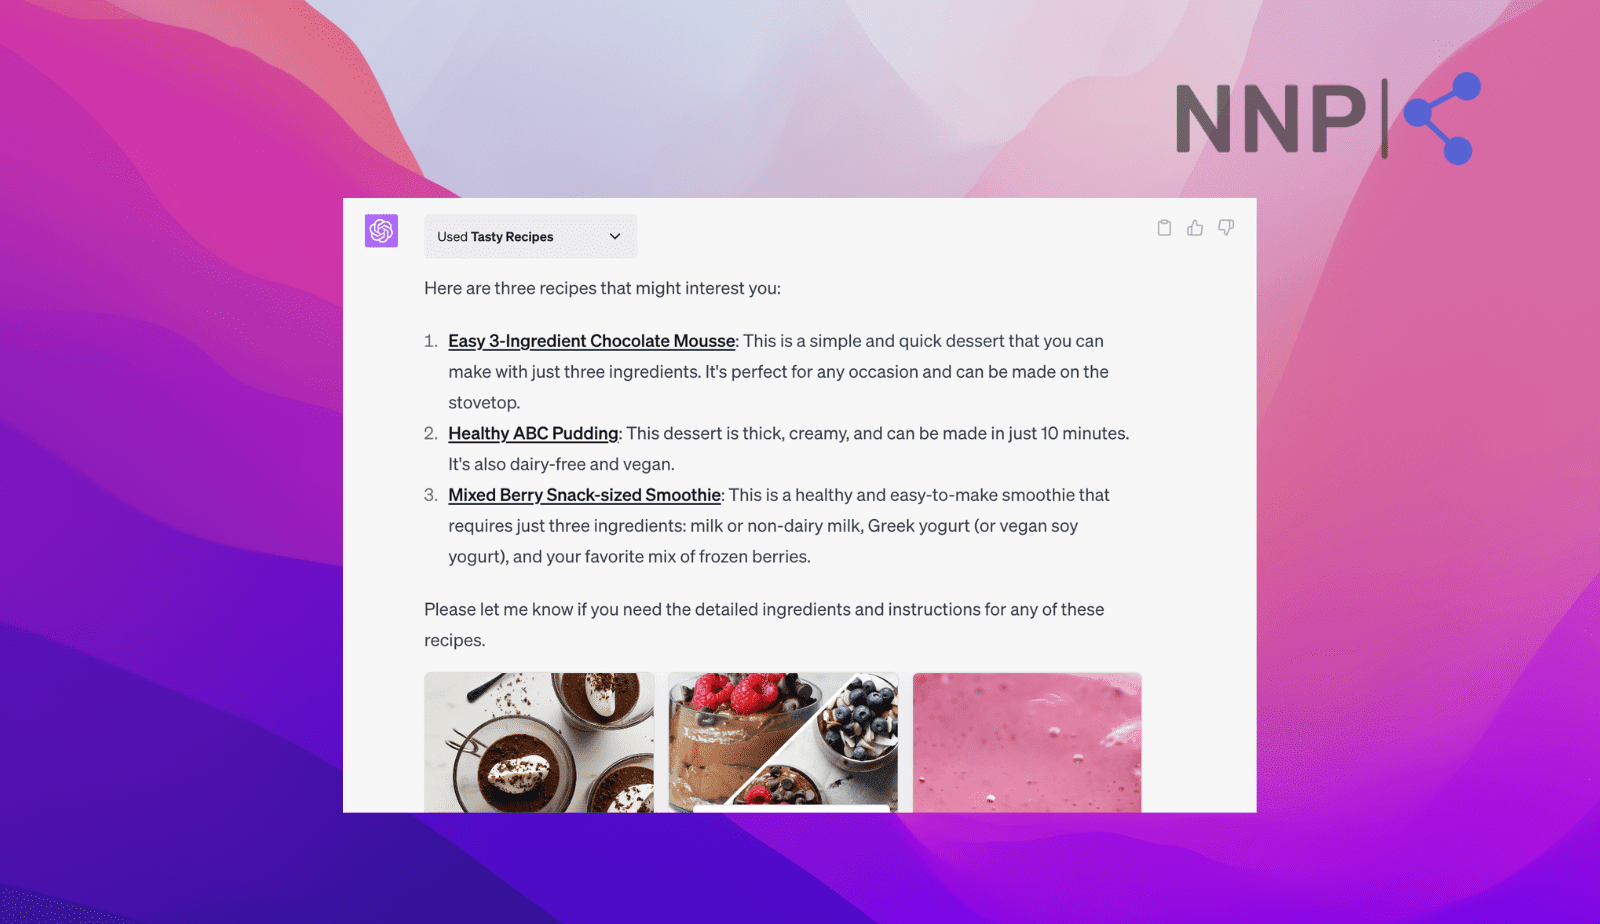
I liked how it quickly gave me ideas from Tasty based on my prompt, with included links to recipes, the ingredients you’ll need, and the preparation process.
🧳 Learn also how to use ChatGPT and the plugins to plan your next trip.
How to join the ChatGPT plugins waitlist
- Go to your preferred browser and navigate to the Open AI waitlist URL.
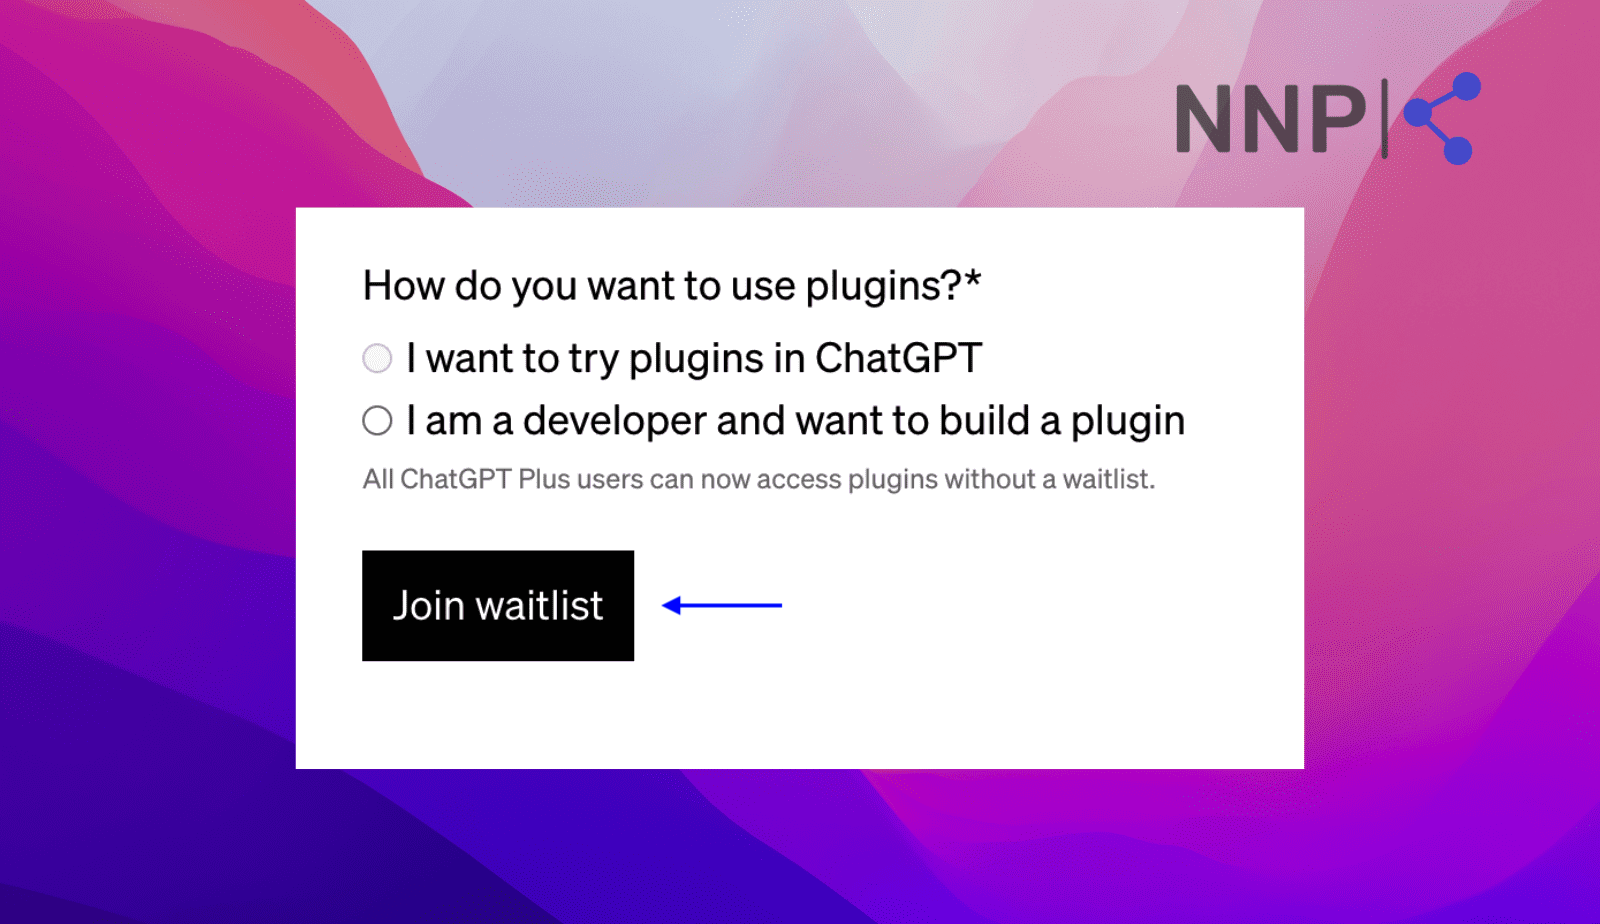
- Scroll till you see ‘Join waitlist' and fill out the form as requested and select why you want to use plugins in ChatGPT.
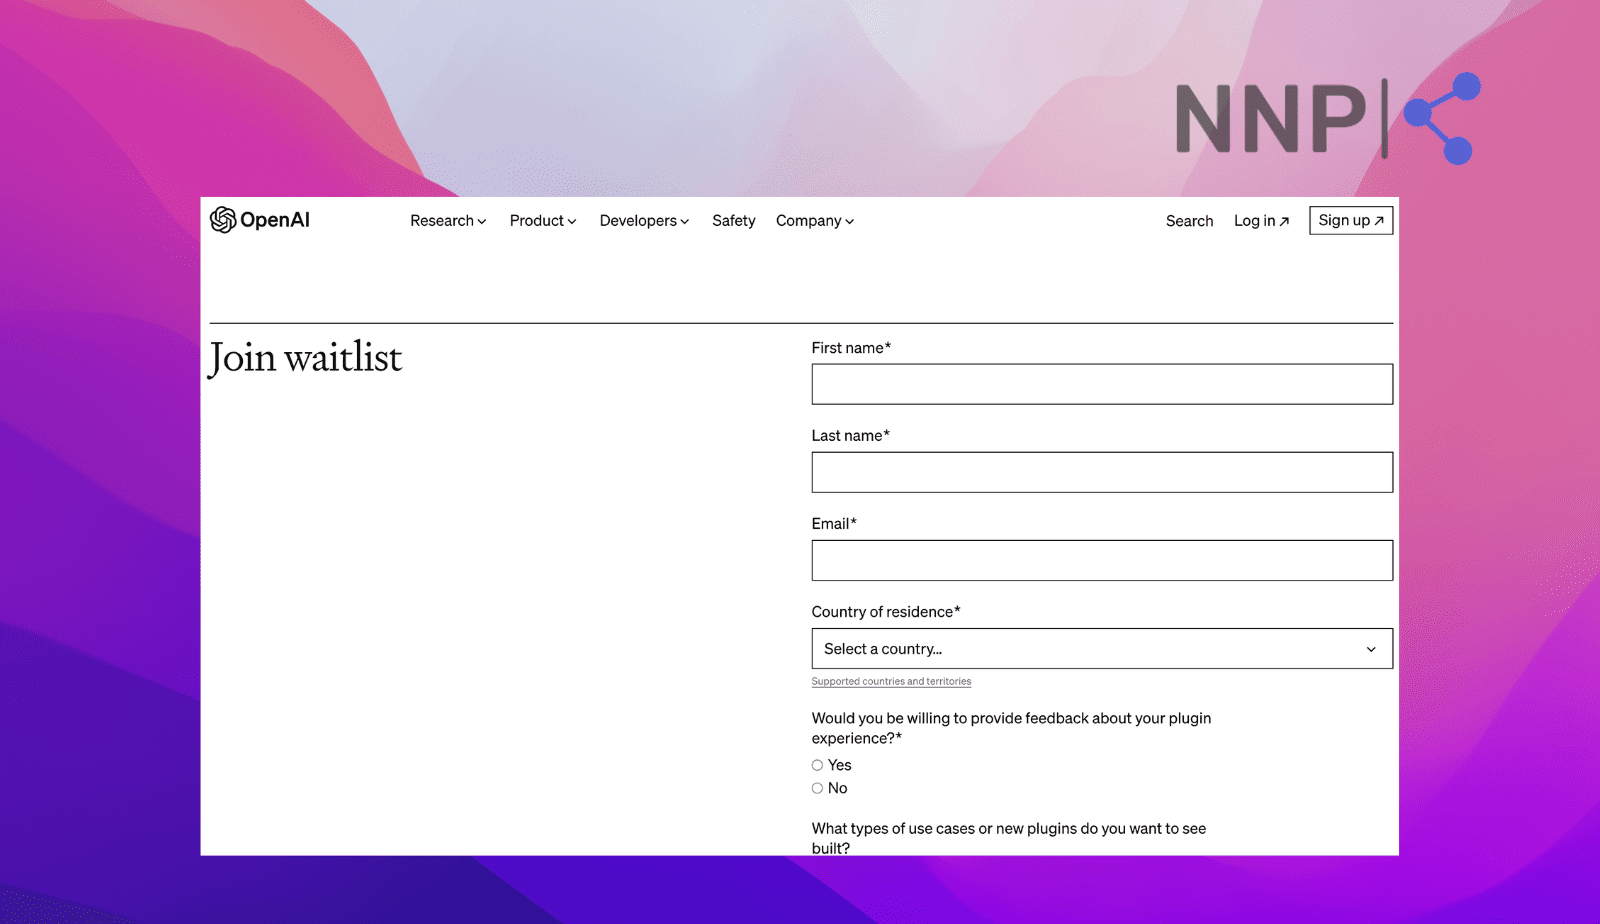
- To complete your registration, click ‘Join waitlist.’
🚀 You might also like to learn how to summarize articles with ChatGPT, including using summarization plugins.
Conclusion
Hopefully, this article taught you the steps to add plugins on ChatGPT and how to use them. You can access them in just a few simple steps, which you should consider trying.
Just remember that if you are using the free version of ChatGPT, you cannot access and add the plugins, but you can sign up for the waiting list to get access to them.
Besides this, you can also learn how to do other fun things with ChatGPT; for example, use it to pick your makeup look, how it can create cool chat-up lines that you can use on Tinder, or learn some tips to brainstorm better with the help of ChatGPT.
FAQs
-
How do ChatGPT plugins work?
-
ChatGPT plugins work in a way that allows ChatGPT users to access information as defined by the plugin. In other words, when you use a certain prompt, ChatGPT and the plugin you’ve installed are trained to give you relevant answers. For example, if you’ve installed the Tasty plugin and want some recipes, ChatGPT and Tasty will provide you with the most appropriate responses, with direct links from the site too.
-
How many ChatGPT plugins are available?
-
So far, till May 2023, around 85 ChatGPT plugins are available on the ChatGPT Plugin Store.
