DreamStudio AI: What is It and How to Use it?
In this article, I will explain what DreamStudio is and how to use it.
I will also discuss the features of DreamStudio, such as free credits, a style library, negative prompts, and advanced settings.
Lastly, I will give you a step-by-step guide on generating images using DreamStudio, and my verdict on the software's performance.
So, let's get started.
What is Dream Studio?
DreamStudio is a web app that lets you create AI-generated images using design tools. With its user-friendly interface and the ability to process natural language, you can easily create beautiful visuals. It's a more affordable alternative to other image-generating tools, making it accessible to a wider audience.
When you start using DreamStudio, you receive free credits to try it out. Just keep in mind that creating more detailed and complex images uses up more credits. You can purchase more in the "My Account" section if you run out of credits.
Your DreamStudio account also comes with an API key, which allows you to use the program to create images in other applications.
By default, DreamStudio has a safety filter turned on, which might blur some images. If this happens, you can adjust the starting point or use different text instructions to get the desired output. It's important to note that you won't be charged for blurred images.
DreamStudio Features
- Free credits are provided by DreamStudio, allowing users to generate images without immediate cost.
- The style library in DreamStudio enables users to apply various styles to their images, such as cinematic, anime, photographic, origami, and comic book styles.
- Negative prompt. DreamStudio incorporates a unique negative prompt feature, allowing users to specify words or commands to exclude from the image generation process.
- Upscale. Users can easily improve the image they most like.
- DreamStudio includes advanced settings like prompt strength, image count, and seed options, giving users control over the resemblance to the prompt and the variety of generated images.
- Users have the option to create images from existing photos, expanding the creative possibilities of DreamStudio.
- The user interface of DreamStudio is designed to be simple and resembles other text-to-image AI tools like StarryAi and Diffusion Art.
💫 Check out Playground AI vs. DreamStudio - Which One is Better For You?
How to use DreamStudio
Before generating any images, I had to create a profile, log in, and verify my email address.
Once I completed these steps, I was ready to use the tool to create AI-generated images.
Start by writing a prompt.

To generate an image with DreamStudio, you must enter a prompt in the prompt section on the screen's left side.
I wanted to create a magic mushroom house for my first image-generating venture.
My goal was to create an enchanted mushroom house from a Disney fairy tale that would also be super realistic.
So, for my first try, I wrote:
“ A magical mushroom house.”
Select a style from the library.
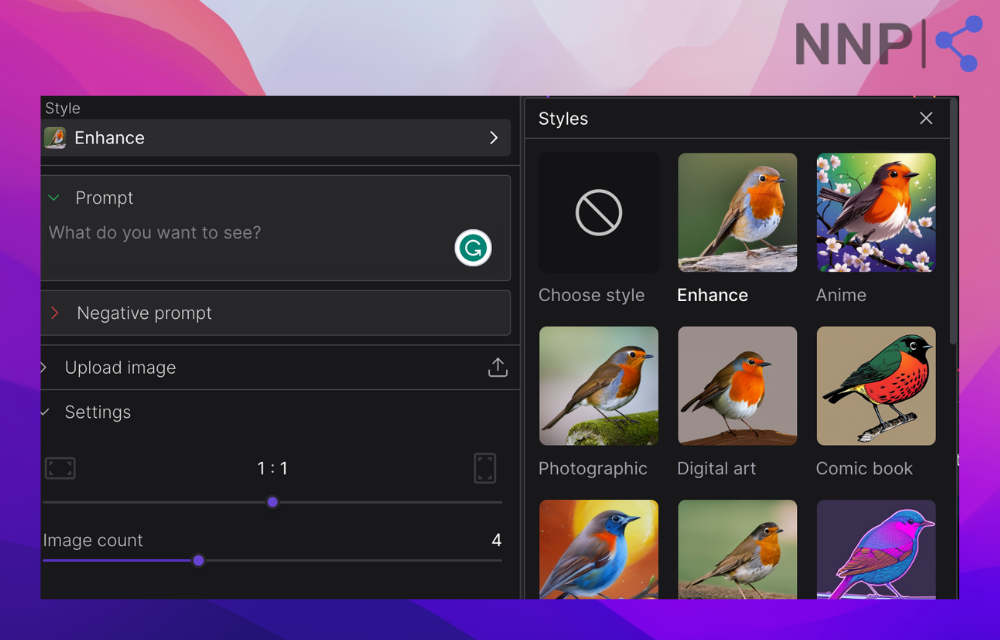
DreamStudio offers multiple styles that users can apply to their images, which is helpful for those who have trouble describing them in their prompts.
For my first batch of images, I decided to leave the default style, which in DreamStudio is "Enhance."
Select the canvas size.
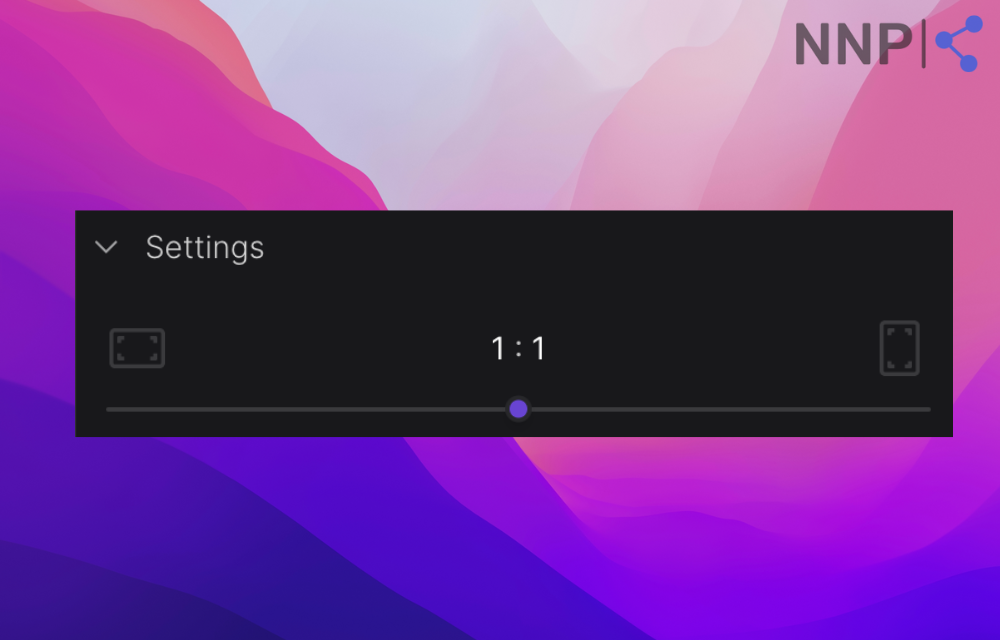
You can customize the size image by dragging the slider. DreamStudio shows the pixels in which your photos will be generated right above the slider.
Select an image count.
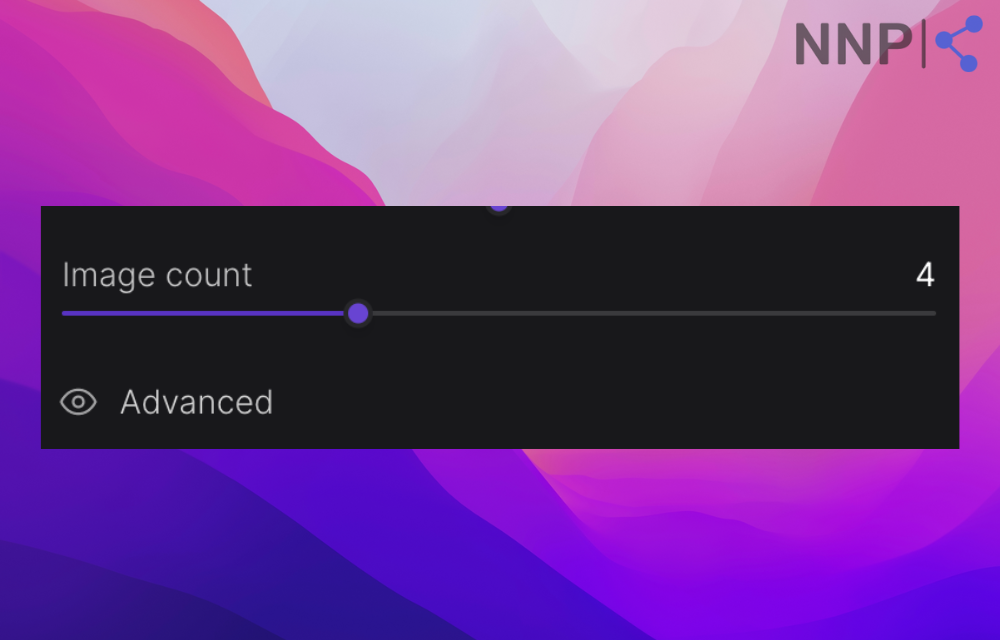
With DreamStudio, you can generate one or ten images at a time, the most in one batch.
I decided to generate four variations of my first prompt.
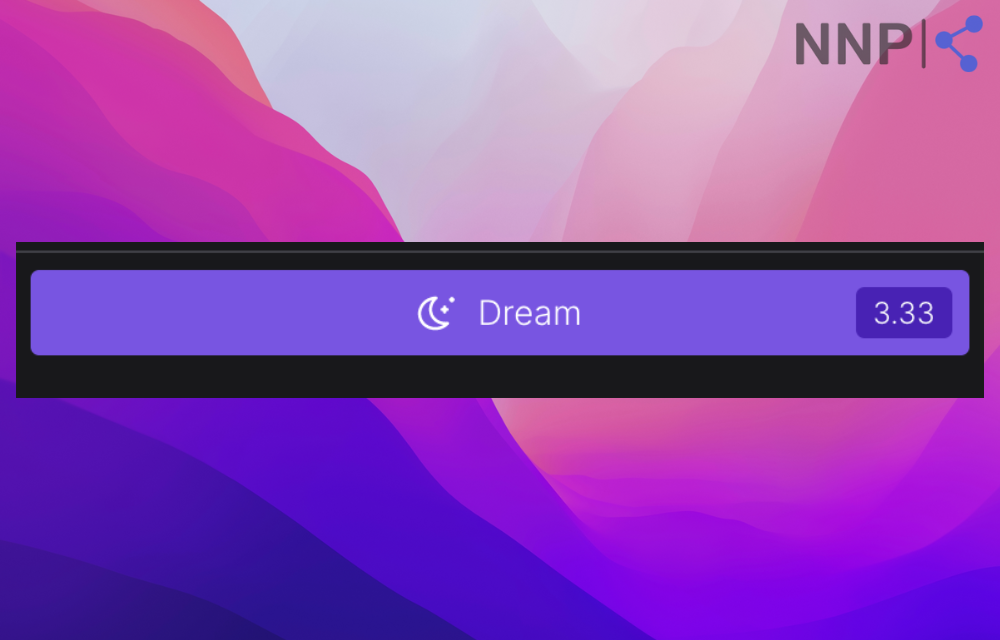
Generate Images
Lastly, I needed to click "Dream" and wait for the images to generate.
Verdict
Although I aimed for a magical Disney-looking enchanted mushroom house, I failed to describe it on my first try. Still, I received visually appealing results.
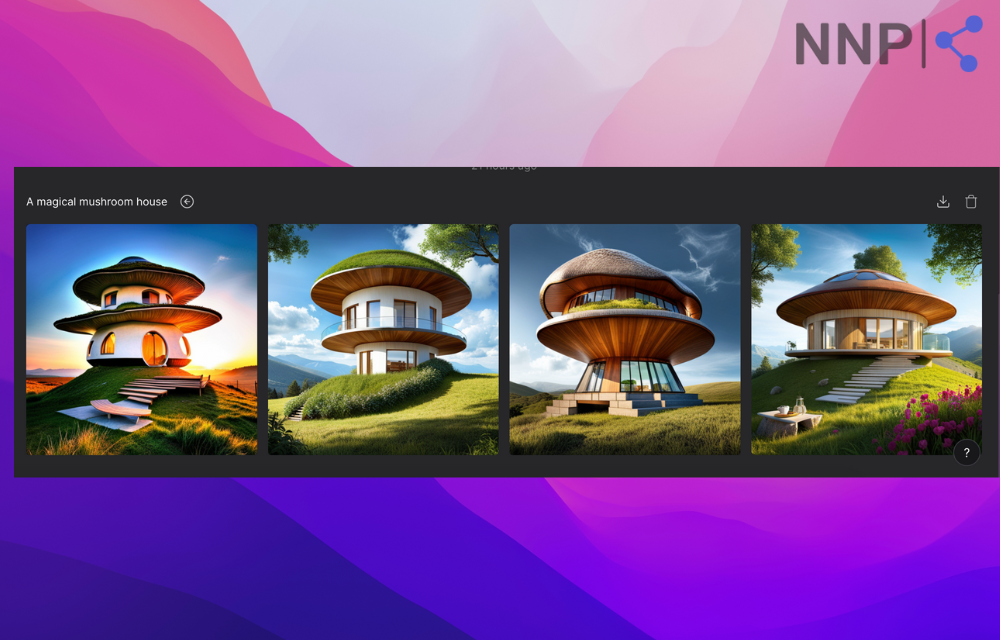
The four variations I received were not Disney-like, but they were high quality, sharp images and had an air of otherworldliness.
However, I wanted to see if you could generate precisely what I was visualizing.
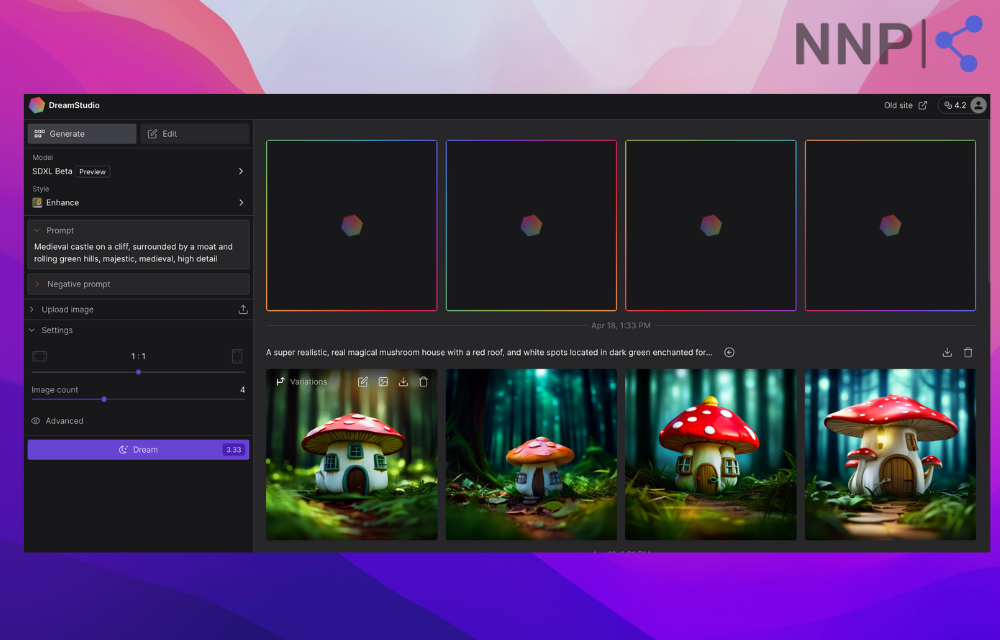
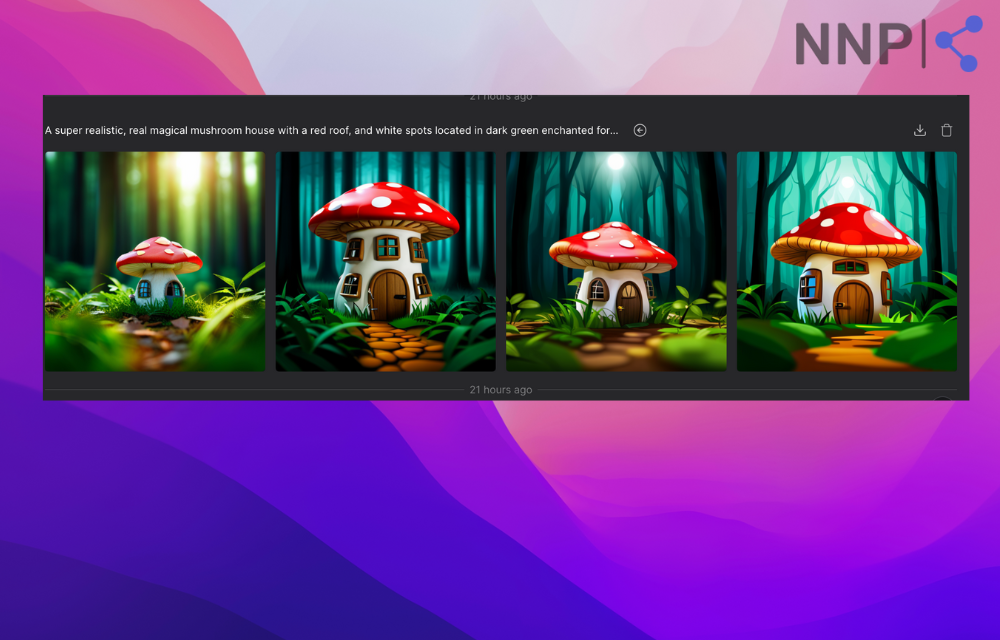
So, for my following prompt, I used the following:
“A super realistic, magical mushroom house with a red roof and white spots in a dark green enchanted forest.”
I also changed the style to "Photography" and received results that were pretty close to what I had in my head.
The next step is to try their upscale option and see how to improve the results further.
Therefore, I needed to click on the image I wanted to improve and click on the 'Variations' option.
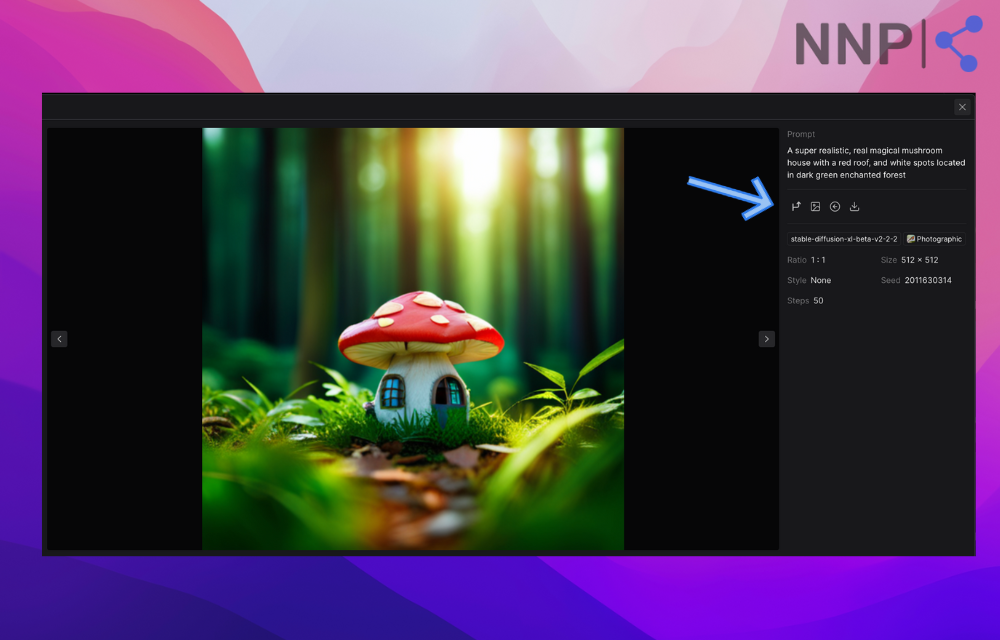
I could see additional details about the image when I opened the new window. Unfortunately, I wasn't able to modify the picture's style.
But, if I wanted to apply a different style using the same prompt, I noticed a tiny arrow above the generated images. Clicking on it automatically added the prompt to the box, saving me from having to type it out again.
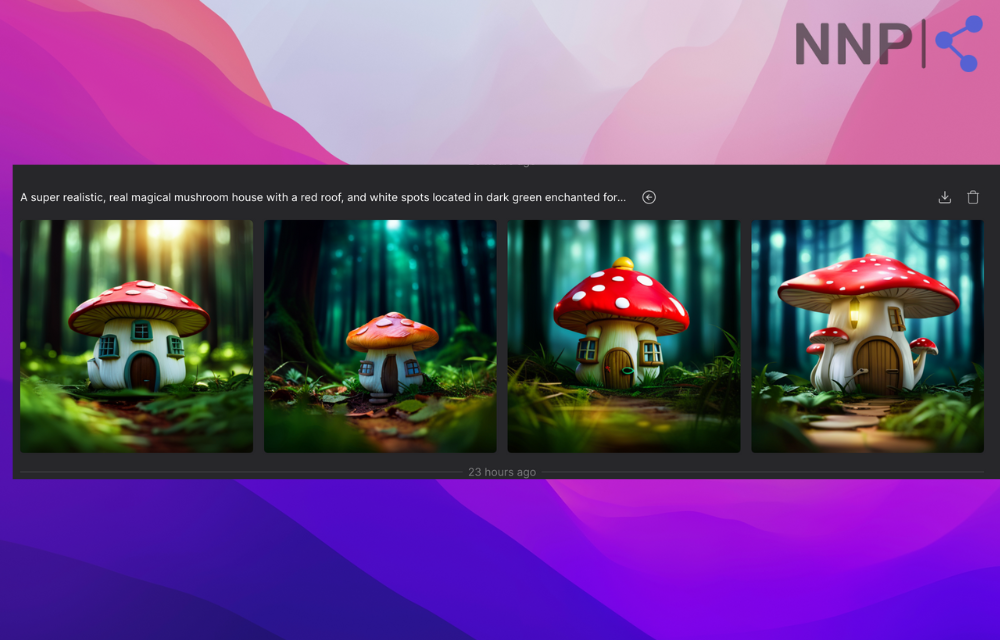
I was more than satisfied with the variations of the image I received. The house looked realistic and magical, featuring the red roof with the white dots I specified in my prompt. It was as if it were located in an enchanted forest.
Based on my experience, I can confidently say that DreamStudio is a fast and reliable AI image-generating tool that can quickly create images based on your prompt.
What's more, I found the tool easy to use and navigate. The user interface is similar to other design tools, making it user-friendly for those with experience with such tools.
Beyond its image-creating features, DreamStudio also offers a negative prompt option, the ability to generate AI images from preexisting photos, and a range of other useful features that enhance the quality of the image-generating process.
DreamStudio Plans and Pricing
DreamStudio works with credits, unlike other AI text-to-image web apps that request monthly or annual subscriptions.
Upon creating your profile, you will receive 25 free credits.
With 25 free credits, you can generate up to 30 images using DreamStudio's default settings or up to 50 photos using the API's default settings.
After using up all your free credits, you can purchase more credits to continue using DreamStudio's platform and API. To do this, you should go to your DreamStudio Account page.
On the Account page, you should be able to find an option to purchase credits. You can buy any recognition, but the minimum purchase amount is $10. If you buy credits, you must spend at least $10 to get started.
For every $10 purchase, you'll receive 1000 credits.
This is the exchange rate for credits to dollars, meaning each credit is worth approximately $0.01.
So if you purchase $20 worth of credits, you'll receive 2000 credits to use on DreamStudio's platform and API.
✅ Read also: Free DreamStudio Alternatives
DreamStudio prompts examples
Hyper-realistic girl walking down a busy street in New York. She is wearing a long red leather coat and red sunglasses. The coat is shining. The background is blurry and represents the speed of the cars as everyone is rushing somewhere. Behind her is a glass window of the bakery where you can see a sad man selling pastries.
A cinematic, hyper-realistic photograph of Batman. Low angle shot. Batman is standing in a dark street. The lights behind him are dark green.
A world of floating cities and heavenly waterfalls suspended among the clouds. The scenery is highly detailed, with geometric shapes and a futuristic feel. The colors are vibrant and realistic.
A poster design featuring a warrior woman in a flowing dress with jewelry, using Procreate and watercolor techniques. The photo has soft lighting, an ethereal, mysterious, and serene expression, and an enchanting atmosphere. The style is dreamy, nostalgic, and soft-focused, with dark vignetting, light leaks, medium photography, and coarse grain.
How to create a prompt that will amazingly capture your thoughts
When giving prompts to DreamStudio, the same principles as with the other natural language processing software apply.
Prompts must be precise and descriptive; otherwise, you won't receive the image you imagine (we saw my example above).
A massive helper in DreamStudio's case is the style library that applies the finishing look making every word of the prompt apply to the image just as you have imagined.
I highly recommend applying the styles from the library to your images.
The photography style can make your images look realistic, and the fantasy art style can give your pictures a fairy-like look.
However, before entering your prompt, you must consider what you want to generate.
Consider the main object's action, style, weather, and surroundings. To convey a particular emotion, describe it in detail: "The man has a sad expression, his eyes are watery, and his head is bent down." Think about elements that are associated with that emotion. Add aspects like dark colors, fog, or dark clouds to create a sad image without people.
You can also add details like famous artists’ styles, camera angles, distance, and lightning.
Some camera angles you can use in your prompts:
- Eye-level shot.
- Low angle shot.
- High-angle shot.
- Hip level shot.
- Knee-level shot.
- Overhead shot.
Aritis’ styles:
- Minimalism.
- Realism.
- Pop art.
- Photorealism.
- Pointillism.
Lightning:
- Front Light.
- Soft Light.
- Hard Light.
- Loop lightning.
- Butterfly Lightning.
Moreover, if you want to create a realistic-looking human, you can use the following words to describe what you need: super realistic, hyper-detailed, hyperrealistic, thirty-year-old woman with black hair and glasses.
You must use precise words that describe exactly what you need, which can be challenging. However, with enough practice, you can master this craft. You can also get inspiration from other users and see which words they have used to achieve impressive results.
The best part about this is that prompts can be versatile, and anything you imagine can be created with this tool.
The Ai image generator offers a comprehensive, Dreamstudio prompt guide to teach users how to give correct prompts and achieve the desired results.
If you have trouble creating a prompt for DreamStudio, you can check out some marketplaces offering free and paid prompts for these tools.
DreamStudio Customer support
DreamStudio doesn't offer live 24-7 customer support.
However, you can contact their customer support team about any inquiry through their contact form in your profile's account section.
Read Also: Top AI Influencers to Follow on Twitter😍
DreamStudio customer review
The app has scored 4.8 points out of five based on thirteen customer reviews on Product Hunt.
TrustPilot features only one customer review that graded DreamStudio with five stars.
🚀 Read Also: DreamStudio vs. Bing Image Creator - Which Is Better for You?
In conclusion
DreamStudio is an excellent alternative to Midjourney, and it exceeded my expectations by generating high-quality images that I loved. The app is also easy to navigate and use. I hope this guide helped you understand DreamStudio better and gave you a good idea of what to expect.
DreamStudio FAQ
-
Who owns the images created with DreamStudio?
-
You own the images with DreamStudio.
-
How do I purchase more credits?
-
Go to My Account > Purchase Credits
-
Is DreamStudio Free?
-
With 25 free credits, you can generate up to 30 images using DreamStudio's default settings or up to 50 photos using the API's default settings.